May 25th, 2011
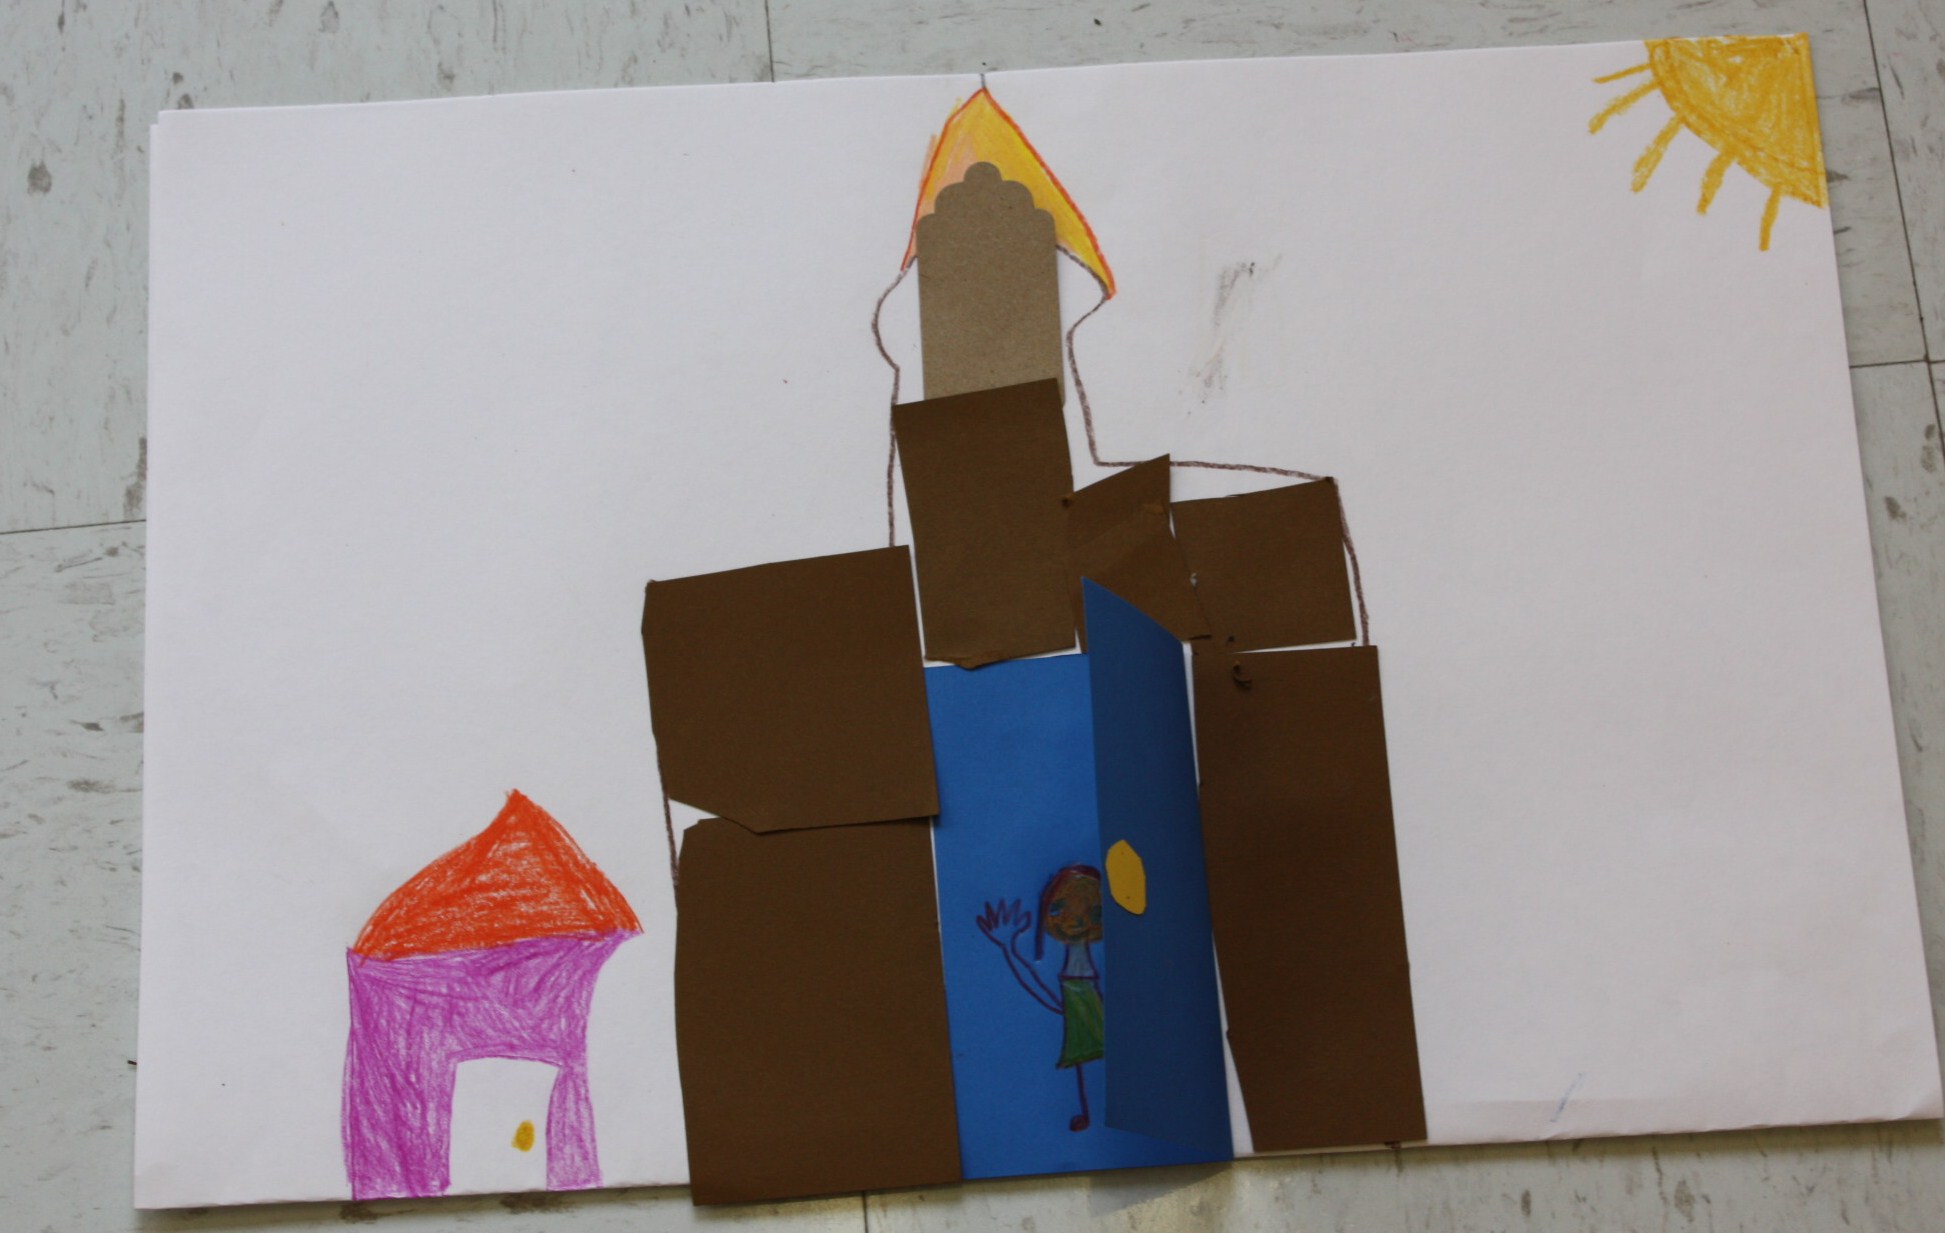
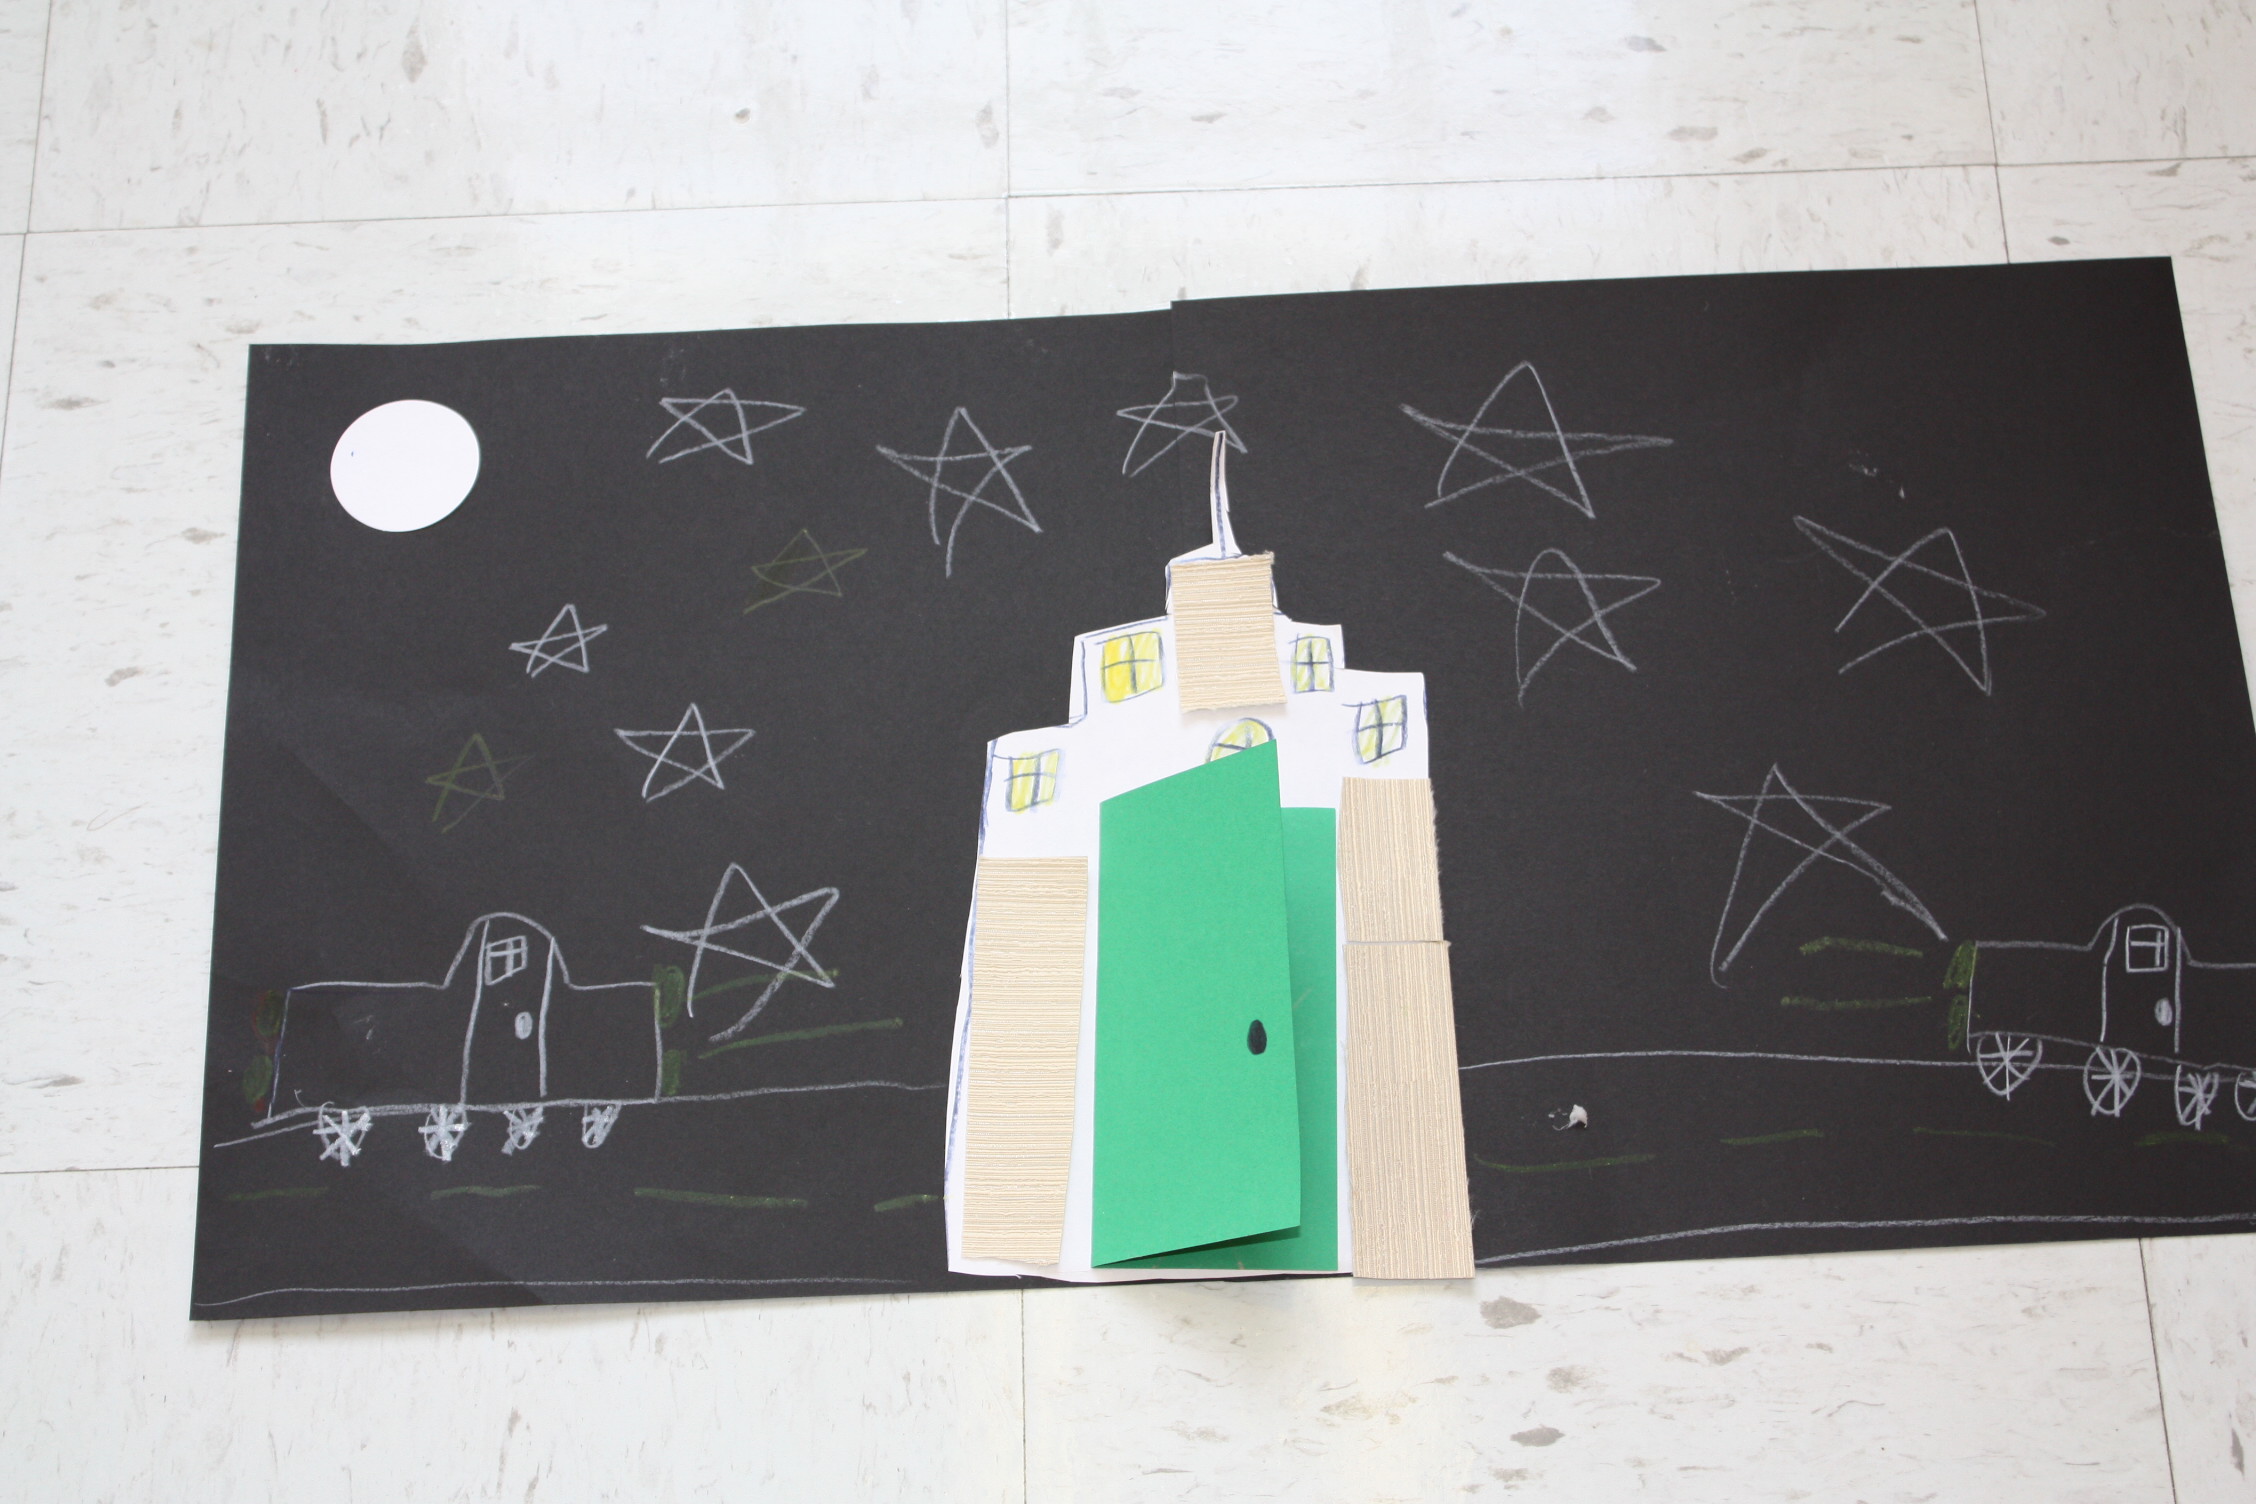
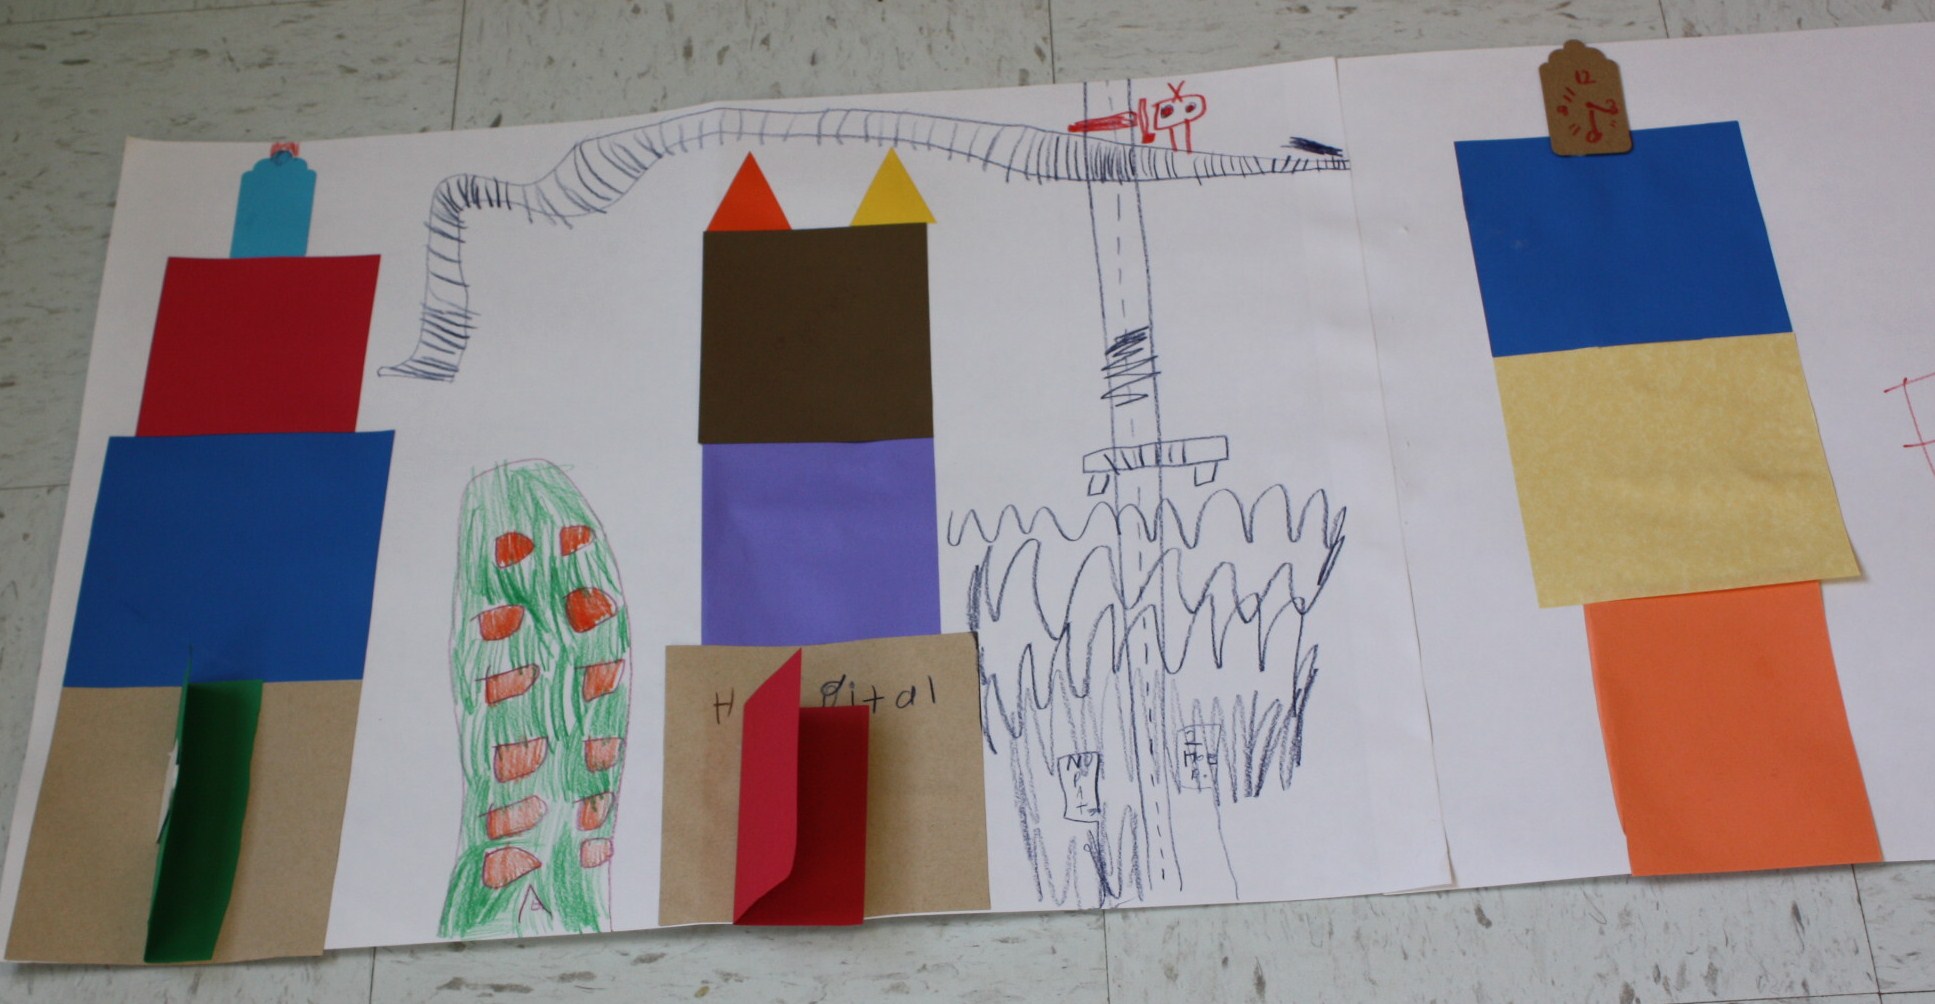
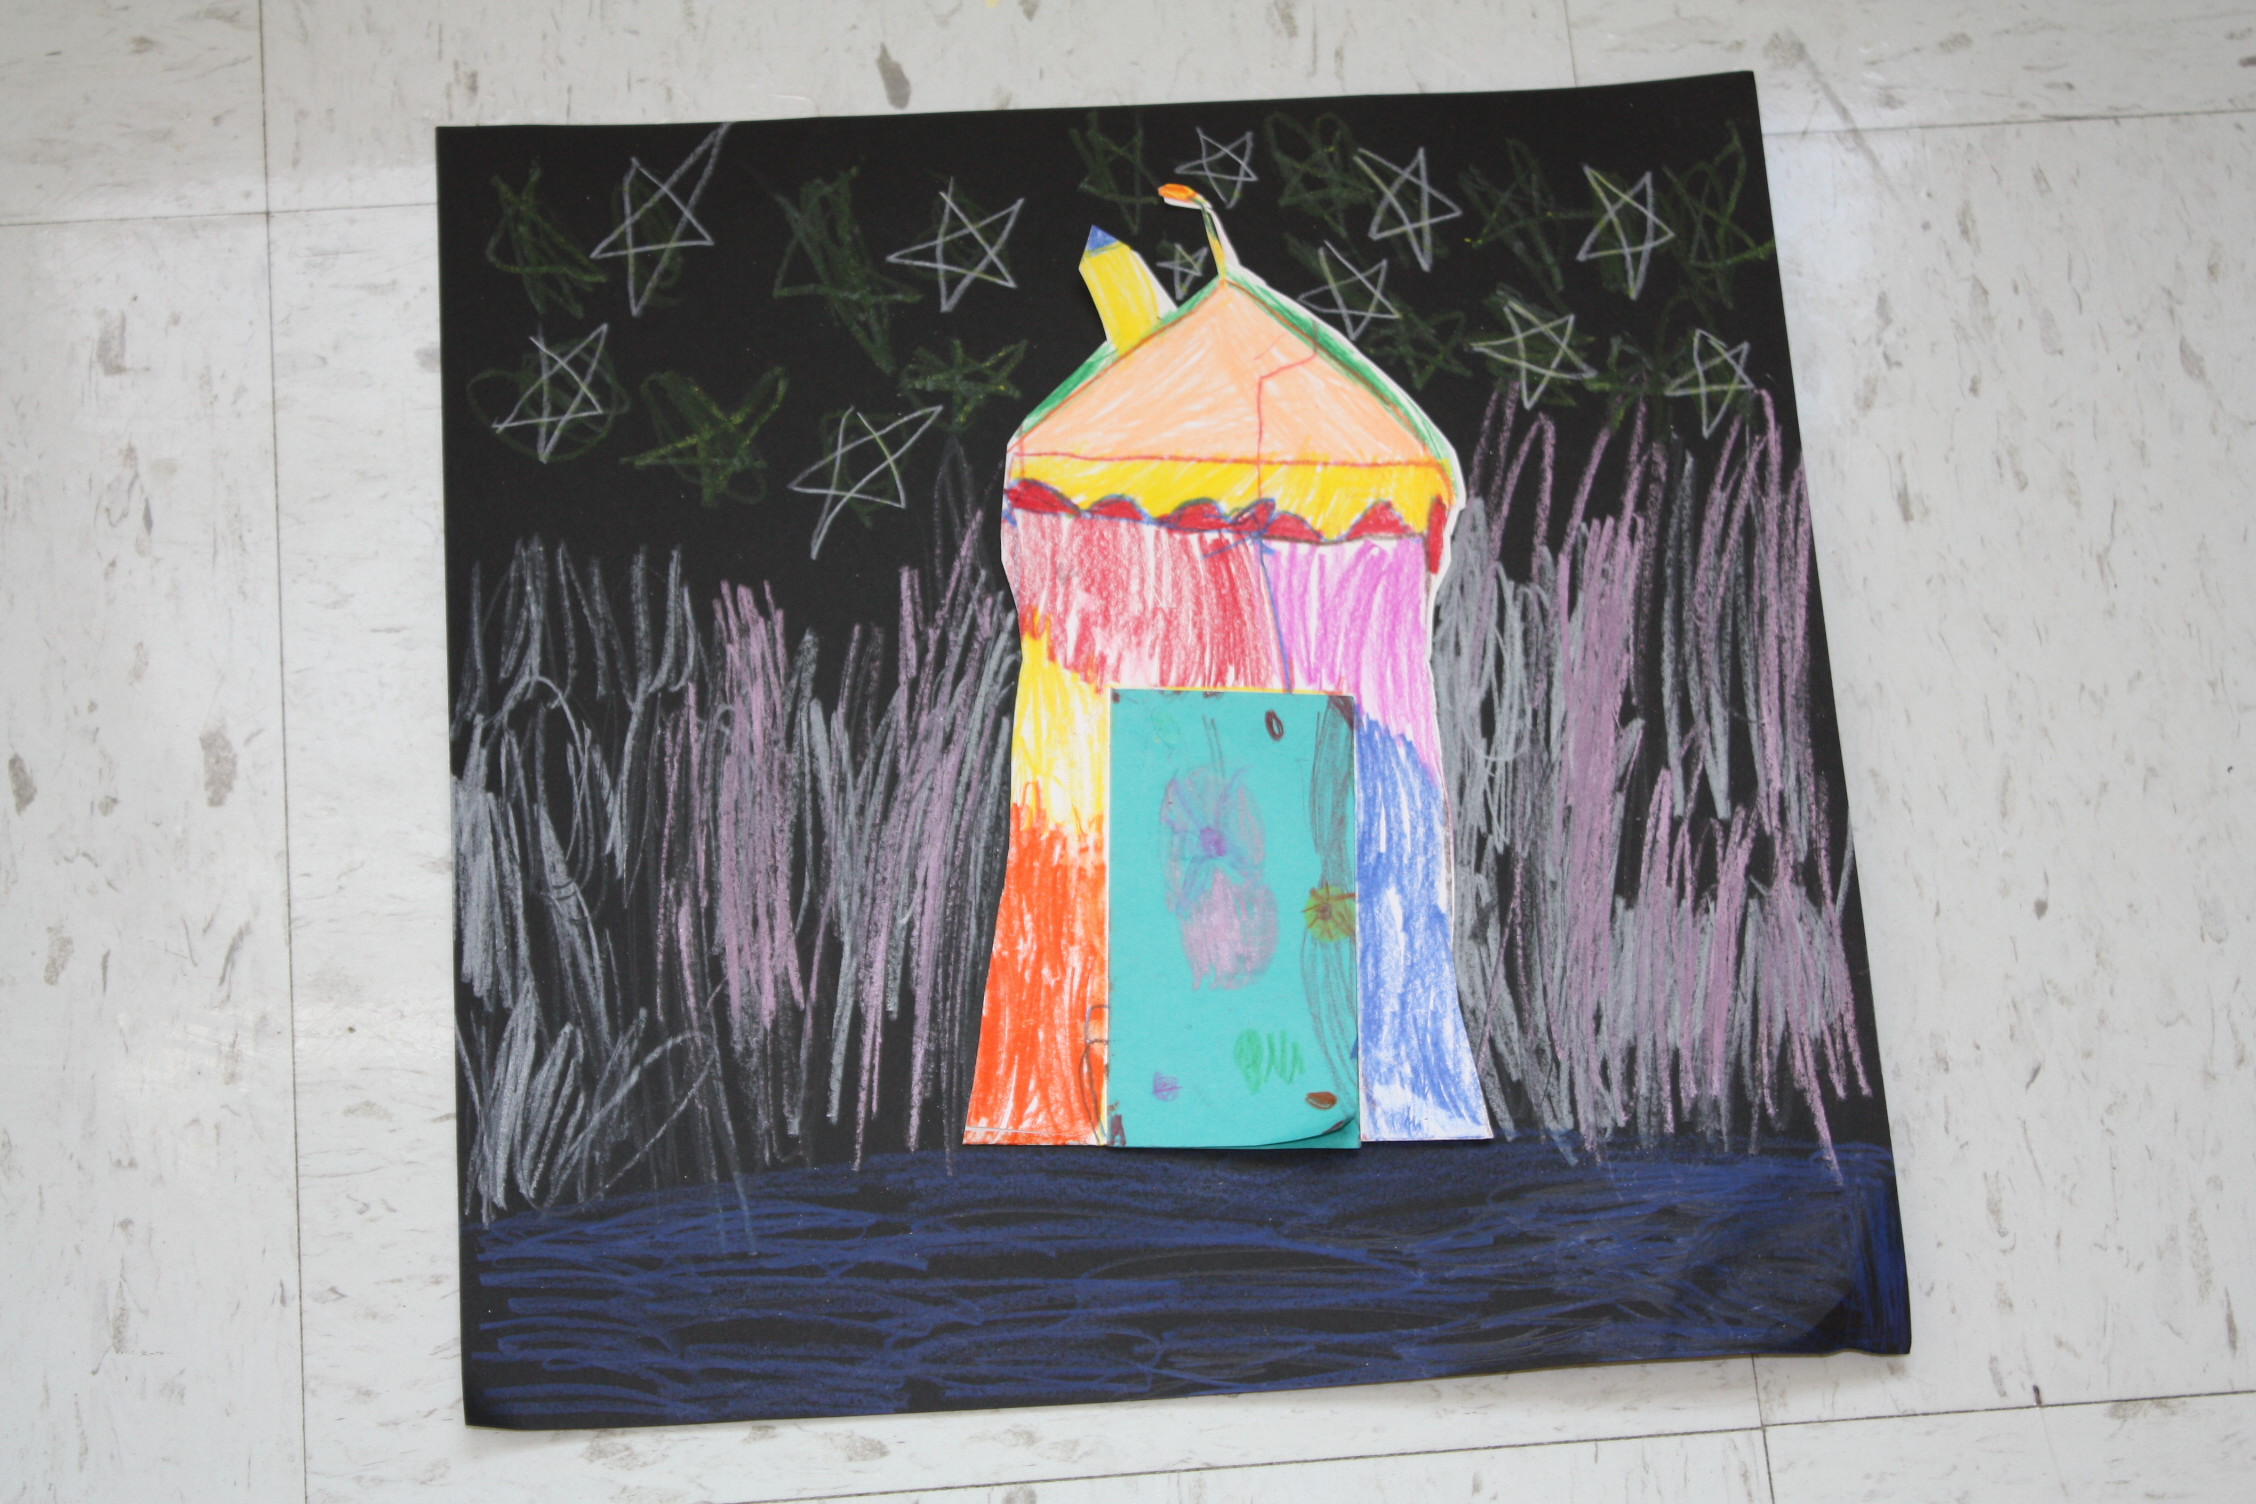
Yesterday in my Construction Junction class we read one of my favorite books “Iggy Peck Architect” Then the children all set out to build their own city. I showed them one simple trick on how to fold paper to make doors; and then they just started creating
Some decided that they would depict the cities at night. I love how they are all so different and creative
If you want to try this at home all you need is:
- Colored cardstock–I bought a huge pack of scrapbook paper in precut shapes. (nothing fancy just squares, circles, rectangles, etc.
- Drawing paper
- Color pencil
- Glue sticks
And I learned a great new expression– “it’s easy peasy, lemon squeezy!!”
April 29th, 2011
I know I fell off the blogging wagon but it was for a good reason! So what have I have been doing for the last month or so? I have been spending my time collecting–collecting hundreds and hundreds of LEGO pieces!
See I decided I would utilize my model building skills and see if the students at Forest Avenue School were interested in joining a LEGO club. And to my excitement, the sign-up was so fanastic that I decided to offer 2 club times. Well how many LEGO pieces do you need for 20 kids. The answer is more than you can possibly imagine. I put out the word to all the “mommy blogs” and the donations poured in! So I have been sifting, sorting and and studying LEGO pieces for weeks.
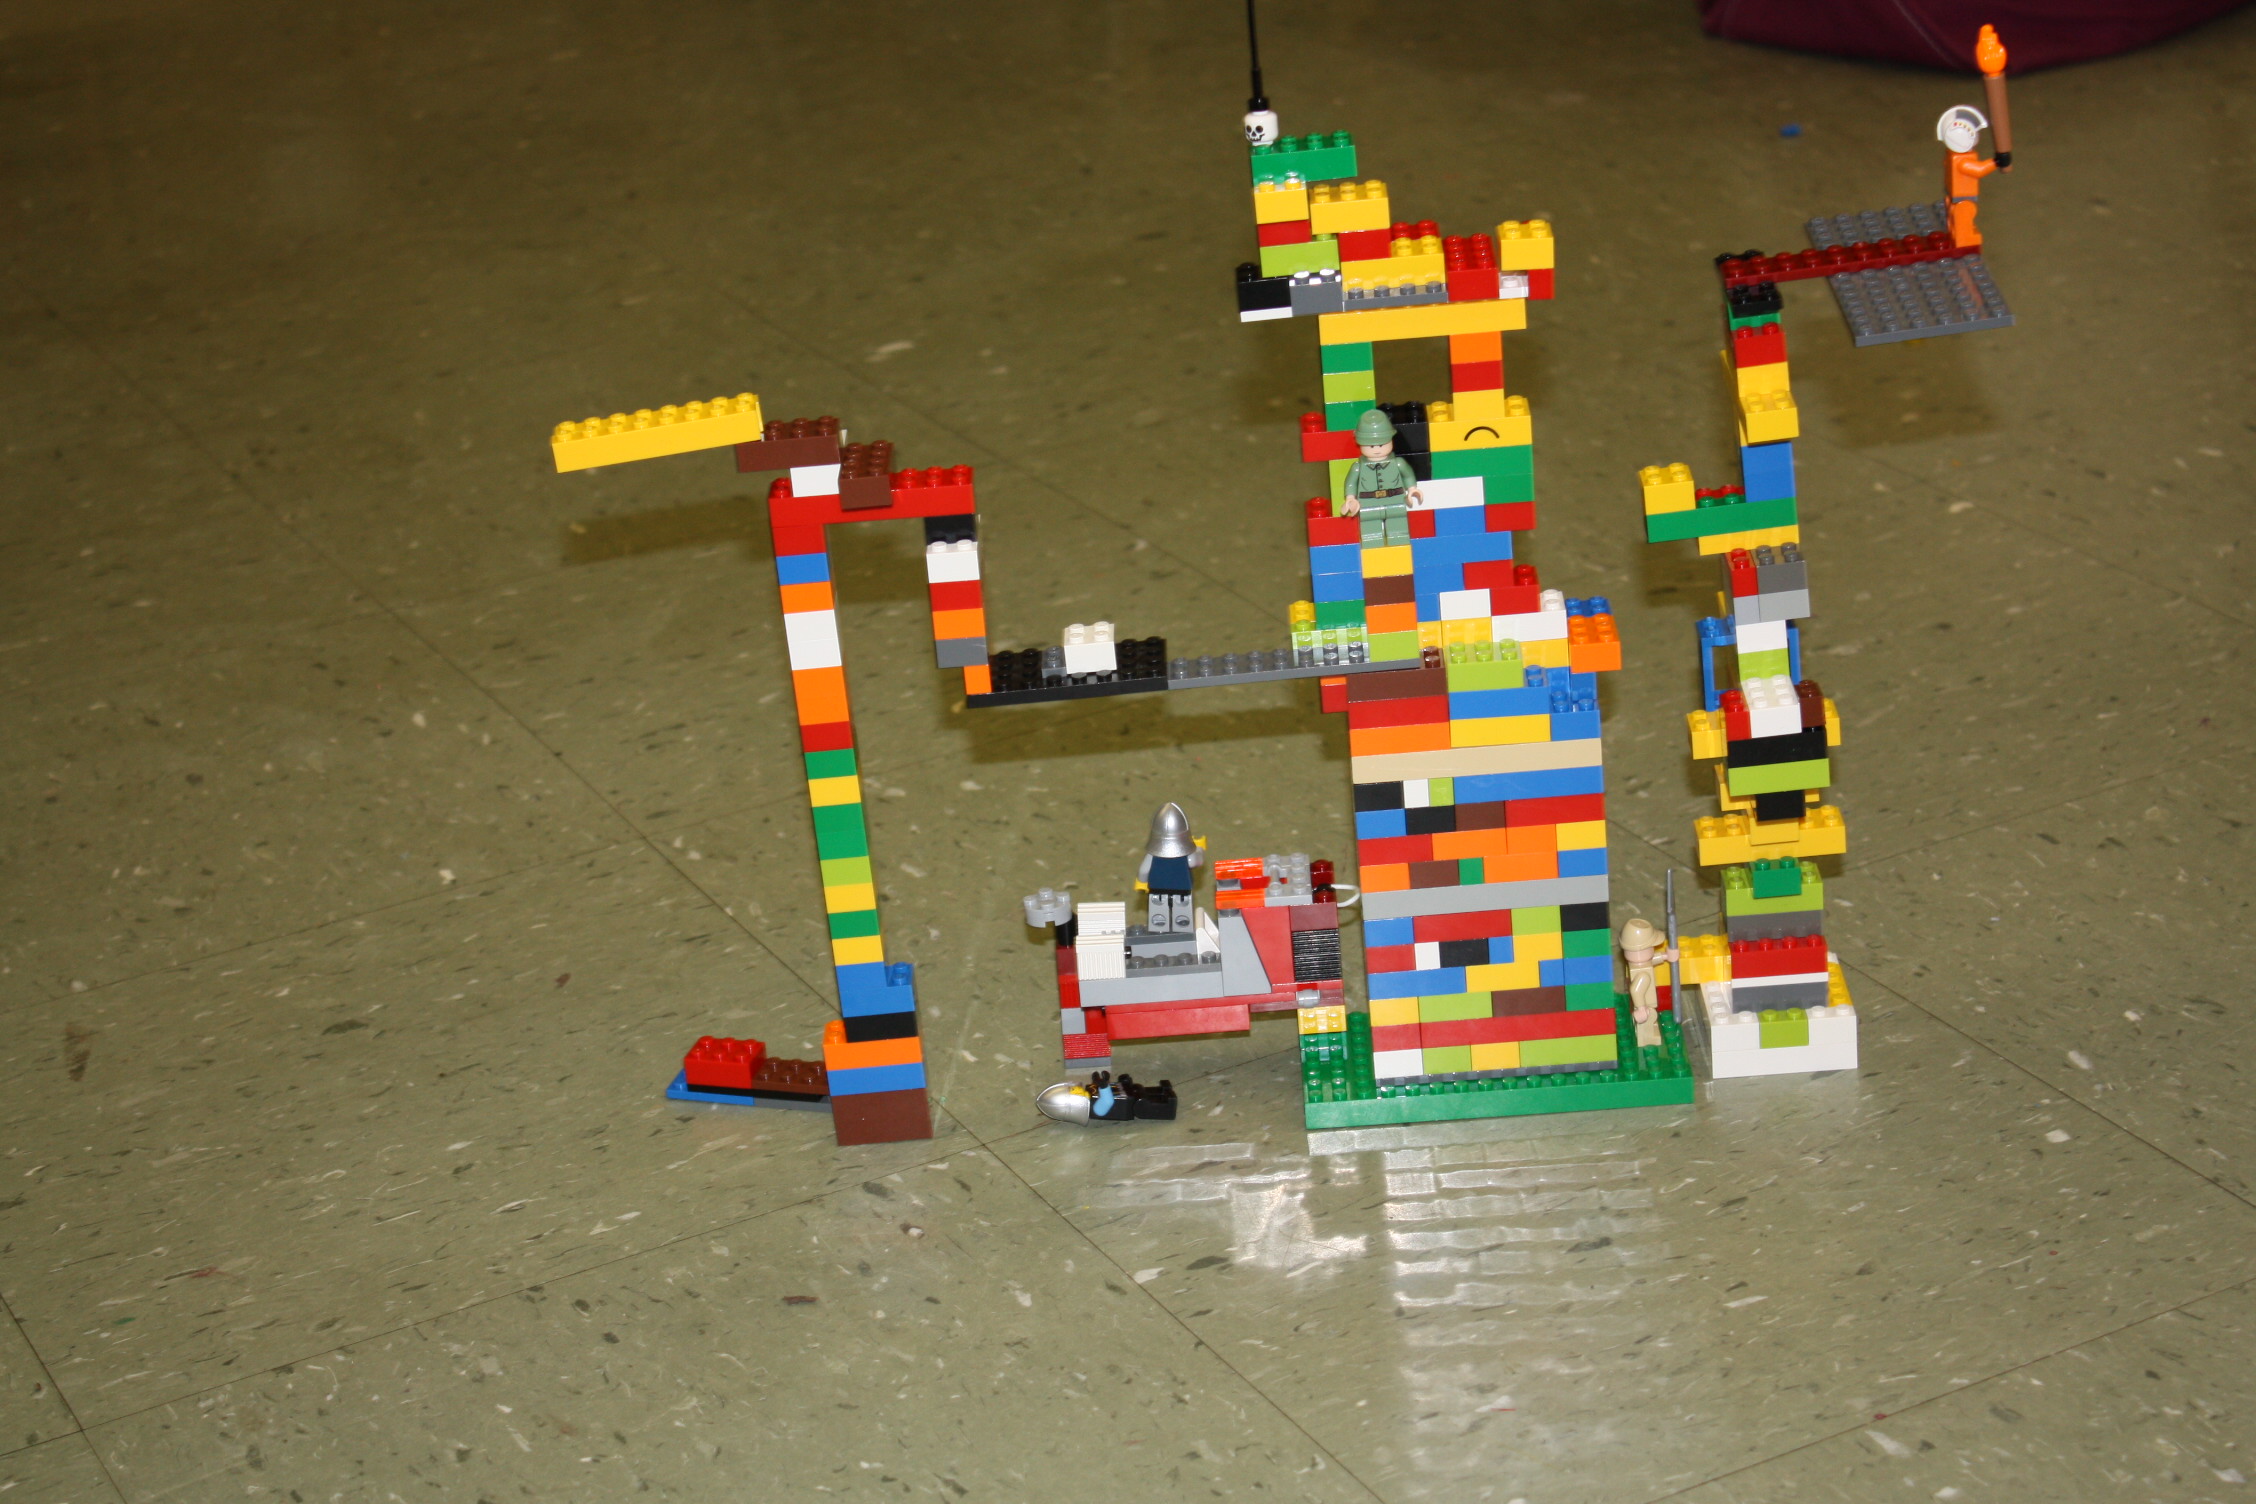
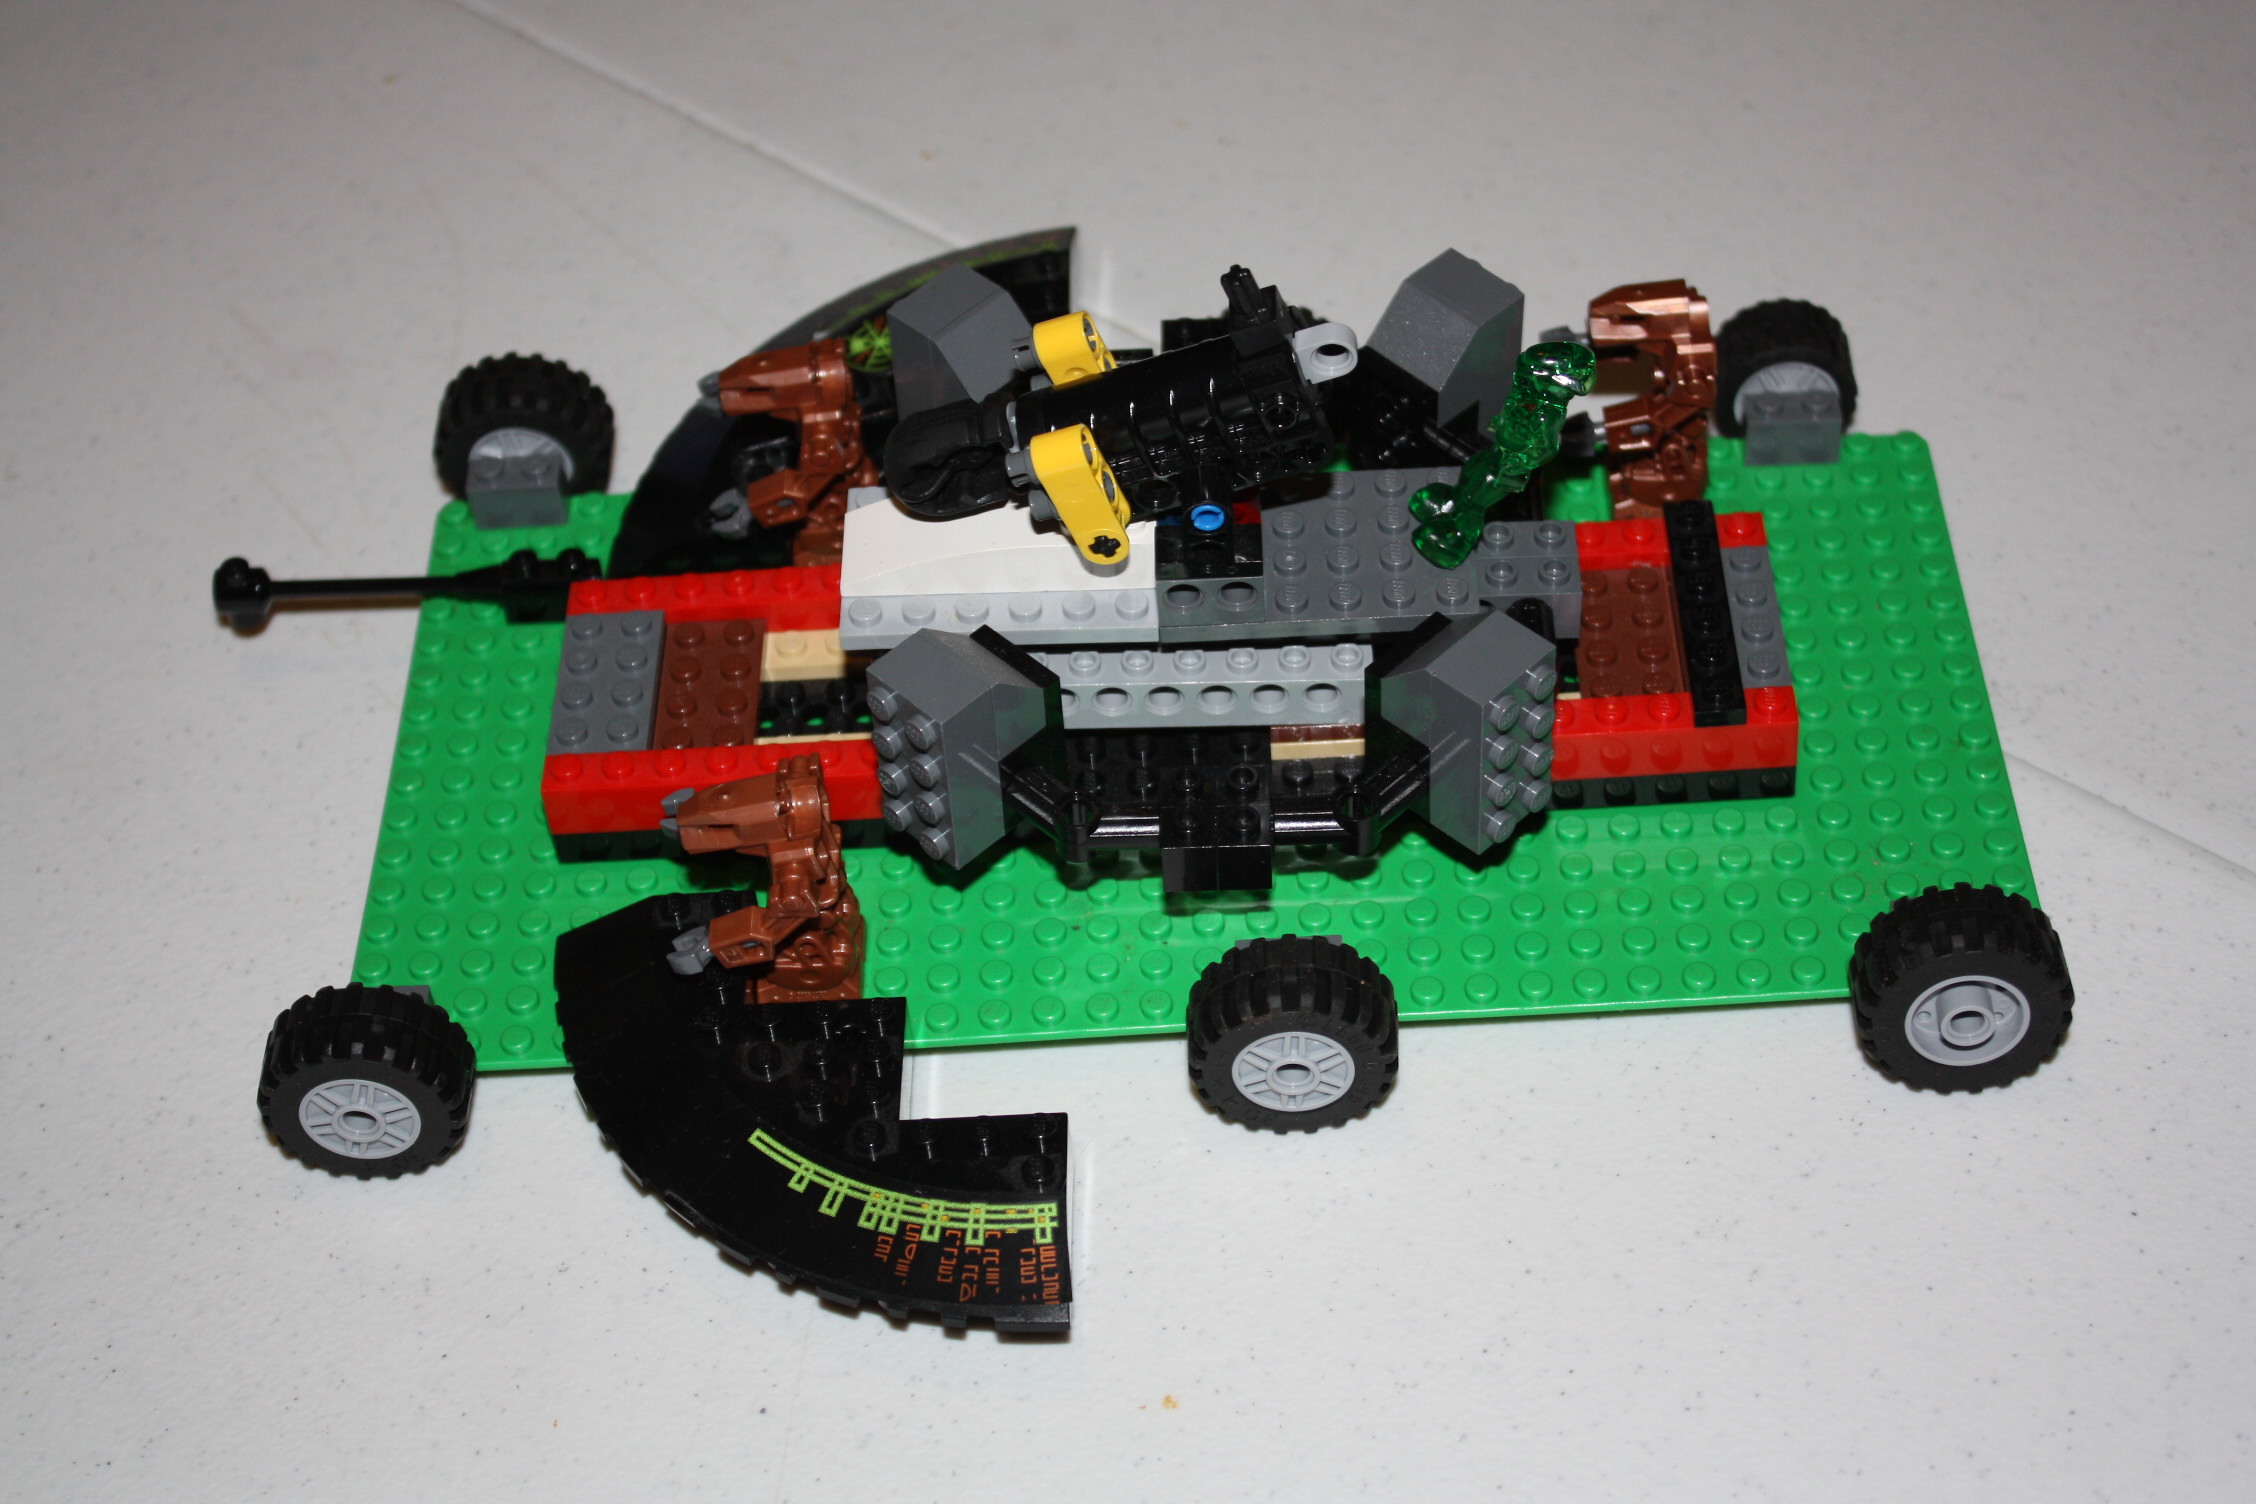
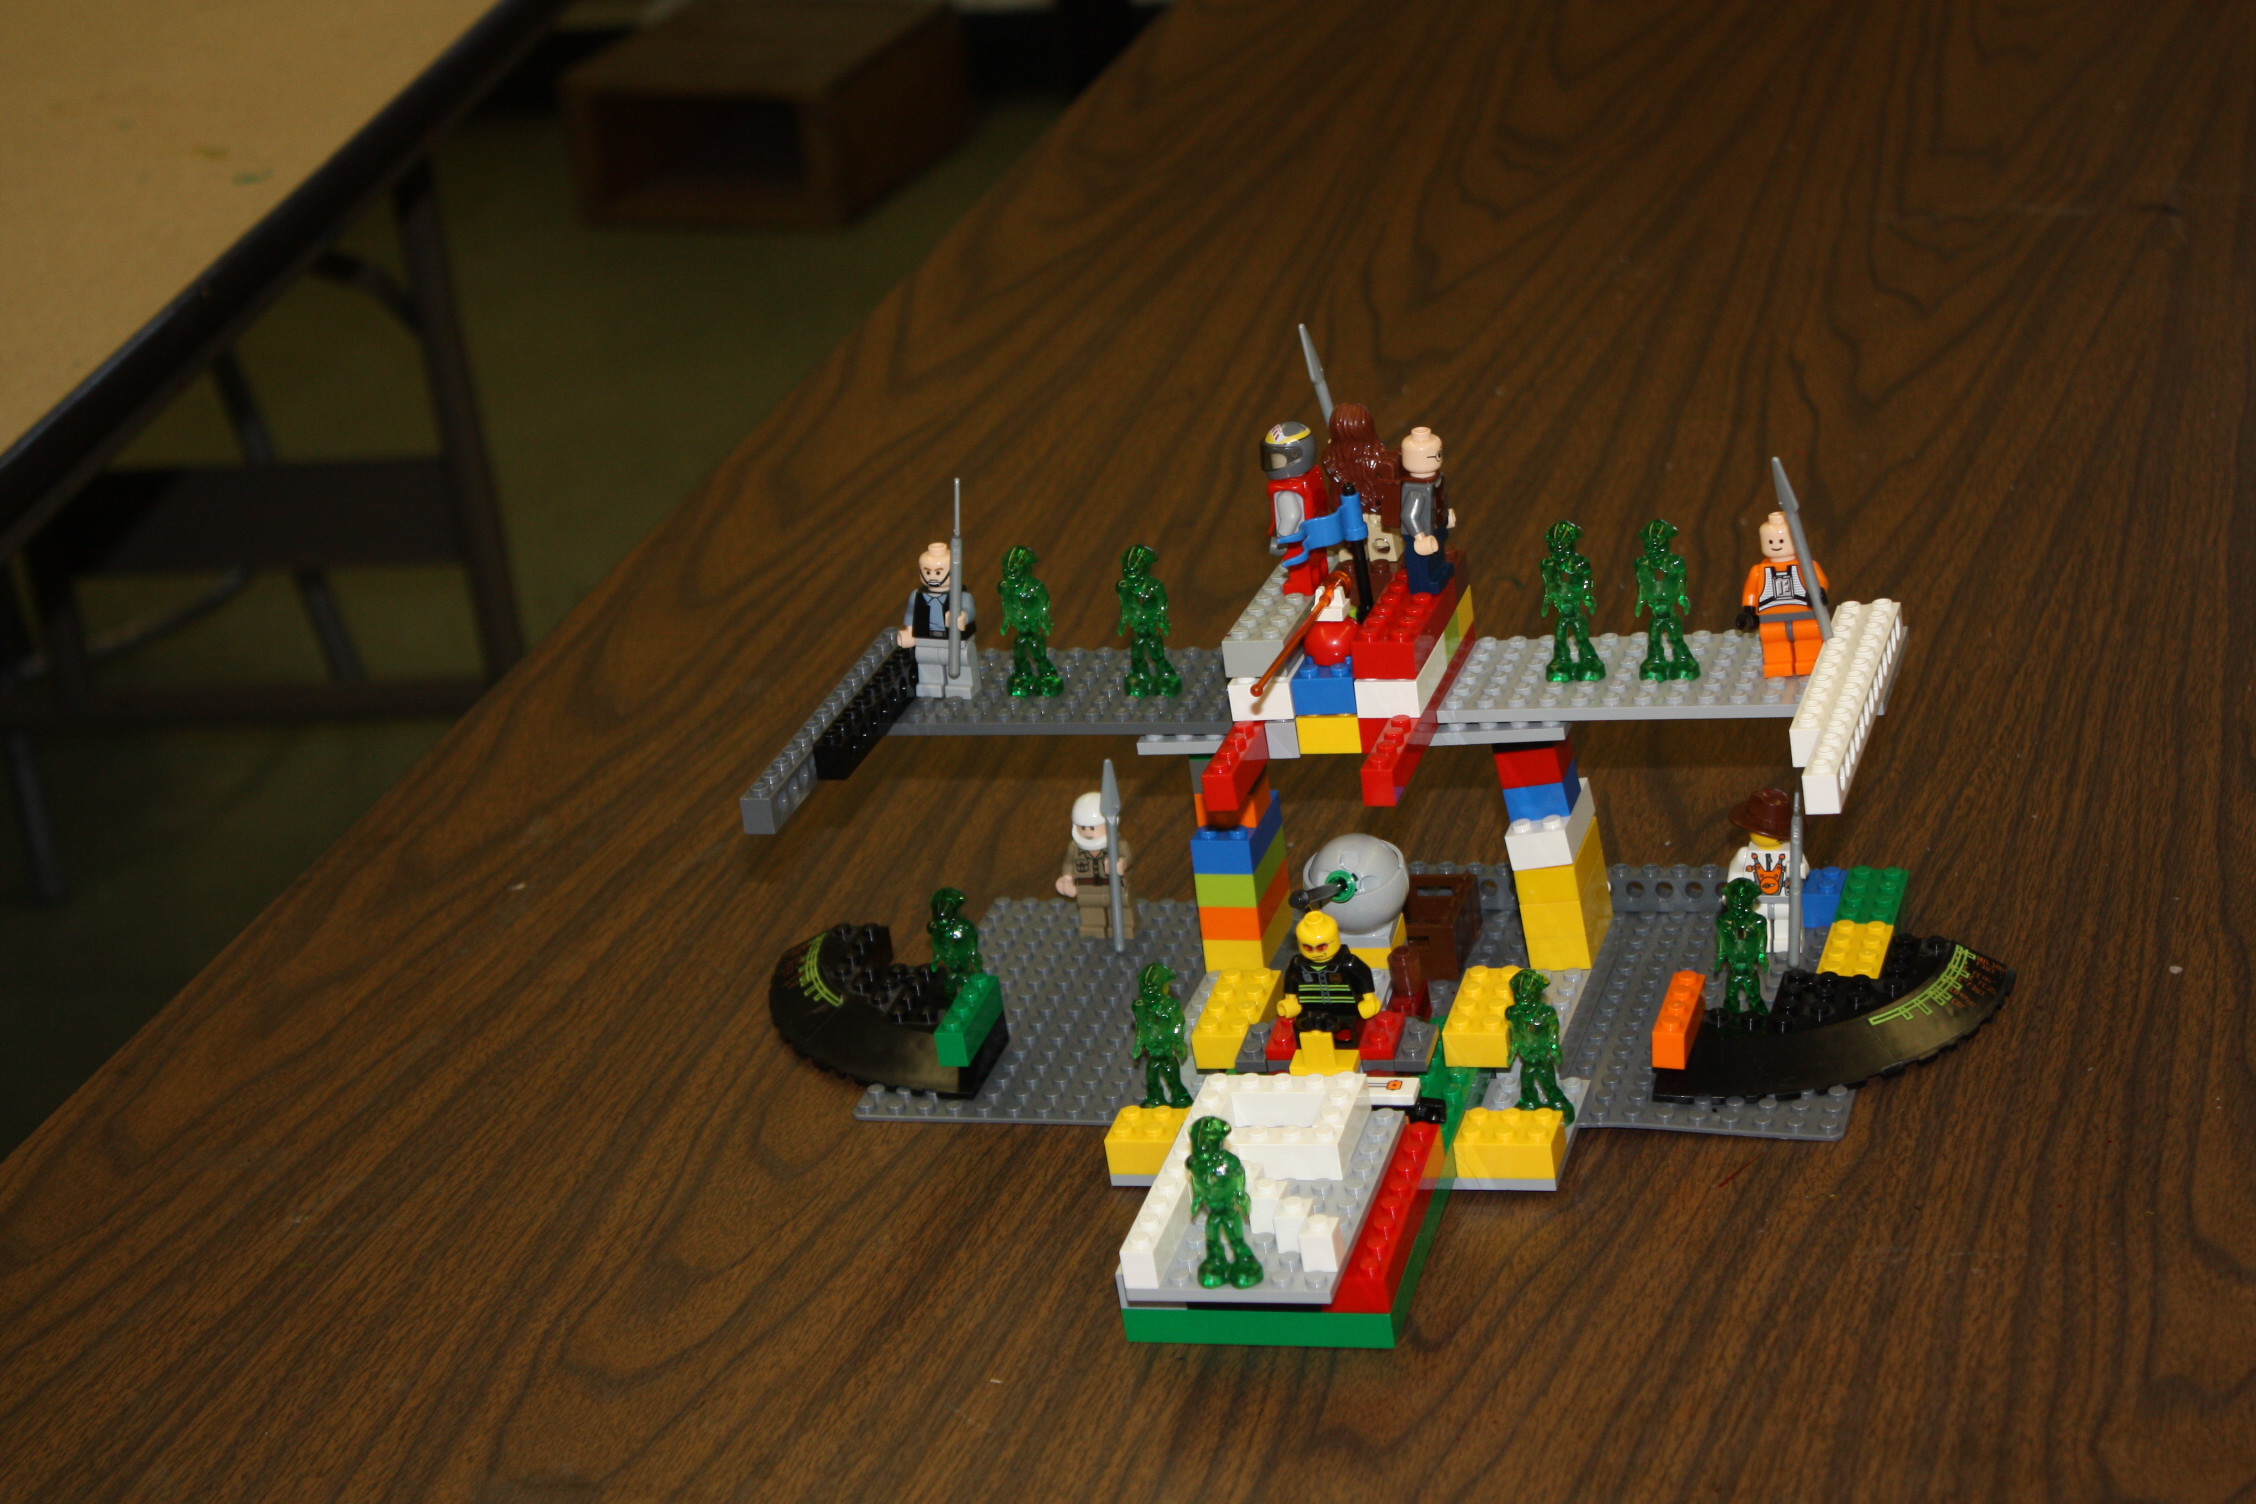
It’s all for a great cause. I love that these boys all are so excited for Club day. They love telling me their made-up Lego names. And we have had so much fun building skyscrapers, cars, robots and pirate ships. Aren’t there creations awesome!!
And a big shout-out to my friends at the LEGO store in Paramus who are helping me with the extras–(magazines, stickers, special pieces, etc!)
March 7th, 2011


At last week’s Eco-Art class, I asked the children to create self portraits that reflected their favorite activity. The only rule is they had to add something three dimensional. I gave them cardboard; so they could be able to poke holes and add other materials.
I love that they took differently approaches! As shown above, one boy, age 6, imagined himself on the moon. Don’t you love the pipe -cleaner nose!
And one girl, age 8, imagined herself at park. She’s an admitted fashionista and had fun creating a great skirt and top combo.
Once again, they did a great job upcycling scraps that what would have otherwise gone to some landfill!
February 21st, 2011

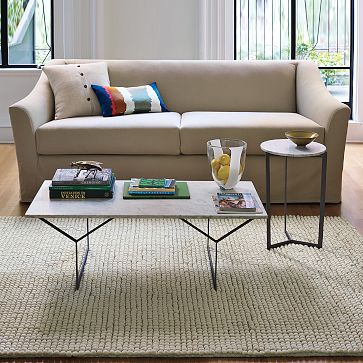
I won’t get into details, but lets just say after this morning’s mess I wish I had slipcovers on my sofa! Why haven’t I gone this route before; because most look sloppy and don’t fit right. But I think West Elm got it right with their new slipcovered sofa!
And it’s on sale now; and they are giving it with an extra slipcover. For just an incredible sale price of $699.00; I think it’s perfect for the CohabiTOT family!
February 17th, 2011

Valentine’s Day is made for Pre-schoolers! My tainted view of this hallmark holiday was officially restored by my sweet 5 year old boy! It was 100% completely his idea to have a party; have everyone come in their fanciest clothes, enjoy treats and dance to Lady Gaga. How could I not oblige? It was sweet, sugar packed party and I think the kids had a great time.
I made the cupcake toppers by downloading these cute printables at Living Locarto. The paper plate and napkins were from Target. The set-up was in the kitchen to try avoid 2 year olds hands getting into everything!
I hope you had a sweet Valentine’s too. xoxo
February 8th, 2011

The favorite show among my kids is Max and Ruby; but mine is Charlie and Lola! Charlie and Lola doesn’t captivate my children the way Max and Ruby does but I adore the graphics! And I could easily design a twin bedroom based on the quirky drawings.
Here’s the plan:
Paint the room chartreuse- Remember these great green rooms.
Purchase two twin scalloped beds–add a bit of applique.
Throw on beautiful duvets made of flowery fabric.
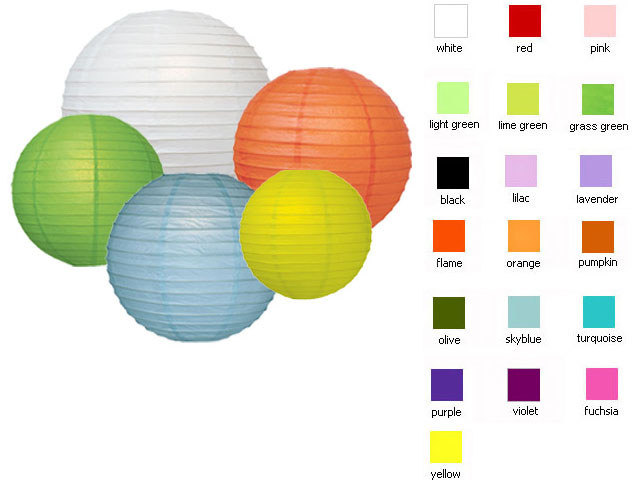
Hang fun paper lanterns.
My girls are almost ready for beds, (how did that happen so fast!) so stayed tuned for some more twin bedroom schemes!
February 4th, 2011
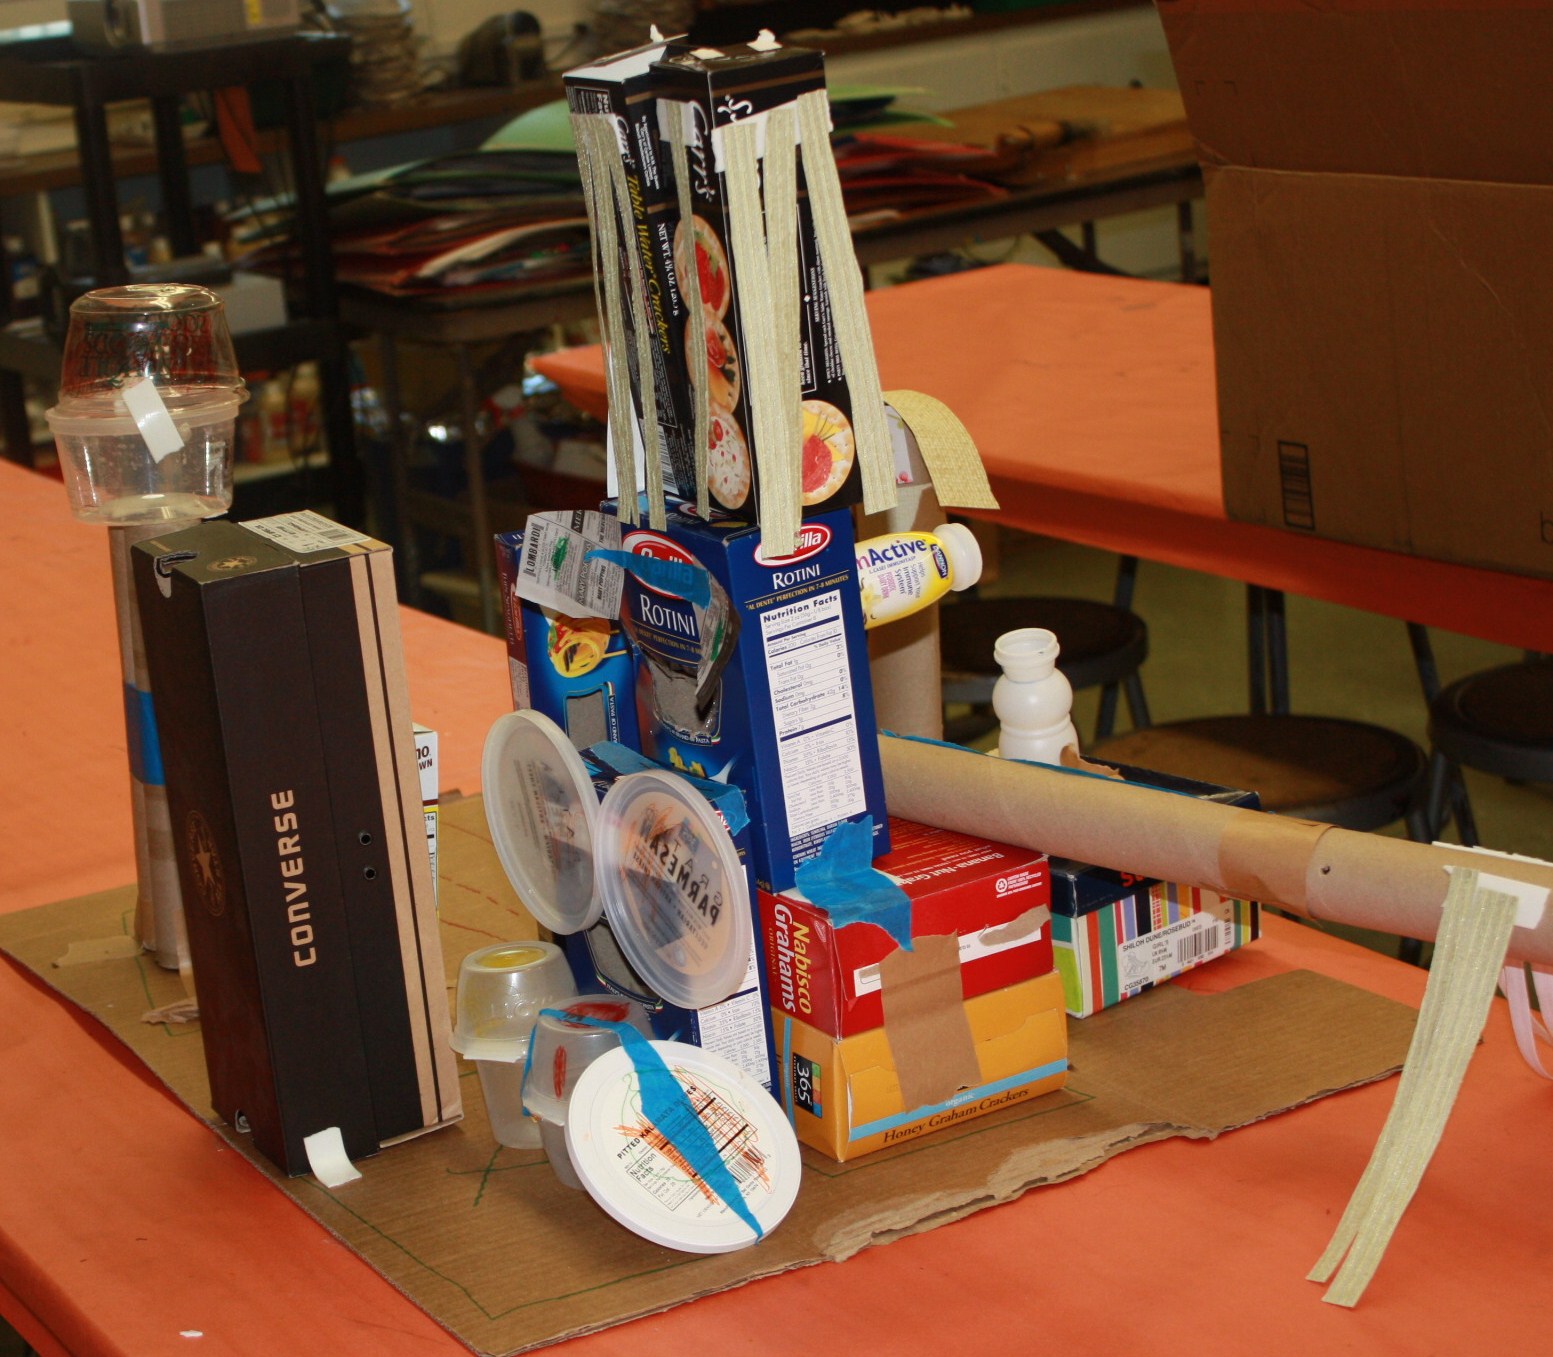
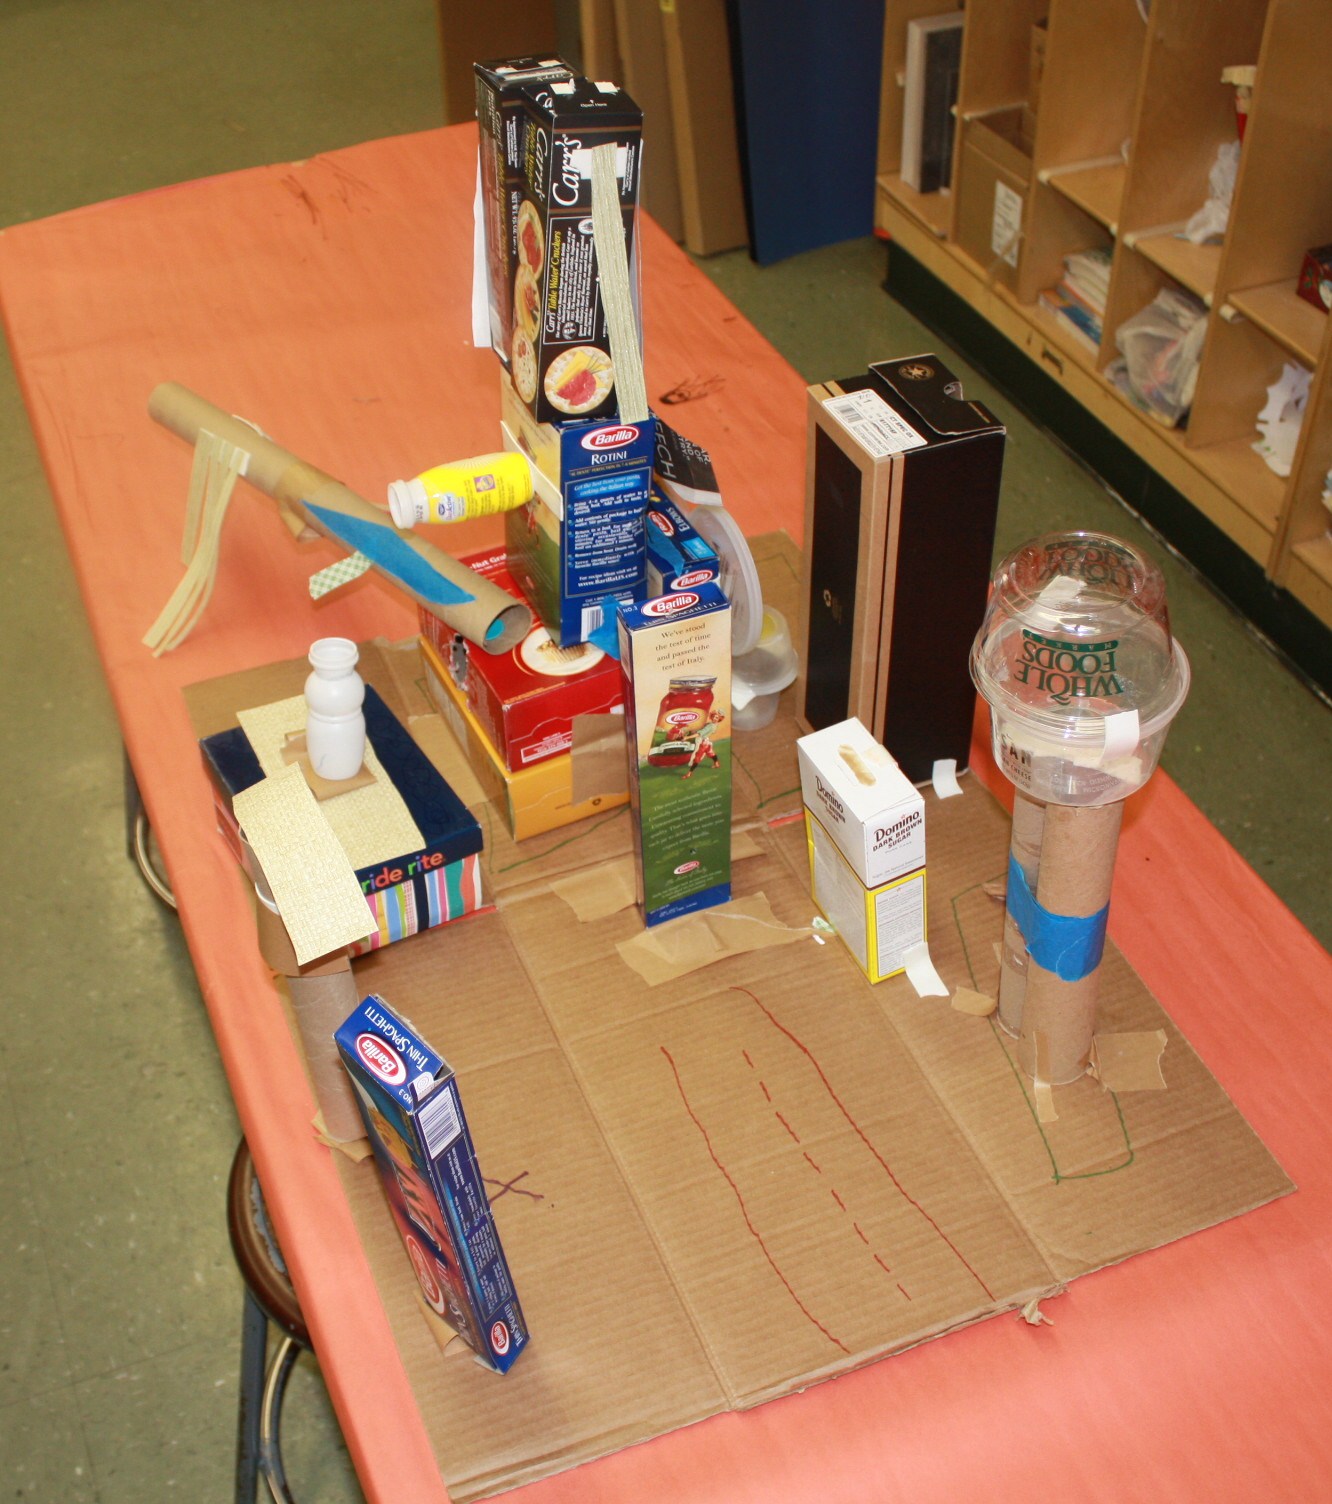
I brought the makedo kit to my Eco Art class this week and without hesitation the kids declared it AWESOME! With very little instruction they took to it –sawing, punching holes and connecting cardboard.
The kids agreed that a group project would be fun and were very excited to build a city for their first makedo experience! To get them in the spirit they read one of my favorite books –Iggy Peck Architect. Then we put on our “construction hats” and began. First they were urban planners; and decided the location for all the buildings. Then we started attaching the buildings.
One of my favorite parts is the telescope! Note the horizontal tube –thanks to the makedo connector it pivots and you can “view” the whole horizon.The kids are not quite done with the city; they think it needs a zoo! I couldn’t agree more! Stayed tuned to see how it develops next week.
January 29th, 2011

Well one good thing has come about with all this snow; I have mastered poultry! Between the snow and just the basic fact that I am held hostage during nap time; I have been doing a lot of cooking. Up until a year ago I was a good baker but not really comfortable with meat and chicken. But now I have mastered poultry!
I am sharing my husband’s favorite because it’s not only delicious; it makes a beautiful presentation. And to me presentation is just as important! I got it from Real Simple; and it’s truly really simple!
Fyi, I only try poultry dishes that can be done in the oven! Nothing stove top; nothing that makes a huge mess, and nothing that requires exact timing or monitoring. Afterall, my three year children can get into enough of a mess. 🙂
So here’s the recipe for my perfect, one pot, colorful dish:
Directions
- Heat oven to 425° F. Using a vegetable peeler, remove strips of zest from the lemon. (Reserve the lemon.)
- In a large roasting pan, toss the tomatoes, garlic, olives, thyme, and lemon zest with 1 tablespoon of the oil.
- Nestle the chicken, skin-side up, among the vegetables and drizzle with the remaining tablespoon of oil. Season the chicken and vegetables with ¾ teaspoon salt and ½ teaspoon pepper. Roast until the chicken is cooked through, 35 to 40 minutes.
- Remove the chicken from the hot roasting pan. Squeeze the juice from the lemon into the roasting pan and add the wine. Gently stir, scraping up any bits stuck to the pan. Serve the chicken and vegetables with the pan juices and bread (if using).
I would love to say that I put my own spin on it, or made an addition to improve it. But to my family and friends wh0 tasted it –Real Simple got it right! And the best part, the left over olives and tomatoes are a perfect sauce for pasta the next night!Do you have any one pot chicken recipes you would like to share?
January 26th, 2011

With all this creating I have been doing I have been thinking about the perfect splat mat for our playroom. It seems nothing online is quite big enough to capture a real mess.
That’s why I think it’s time to make my own. I love these new laminated fabrics from Amy Butler. The bold, fun patterns will add a little cheer to any space. If you live in Montclair, you can see the fabrics at Rock, Paper, Scissors.
This should protect my floor from even my most devilish of creators.
January 23rd, 2011
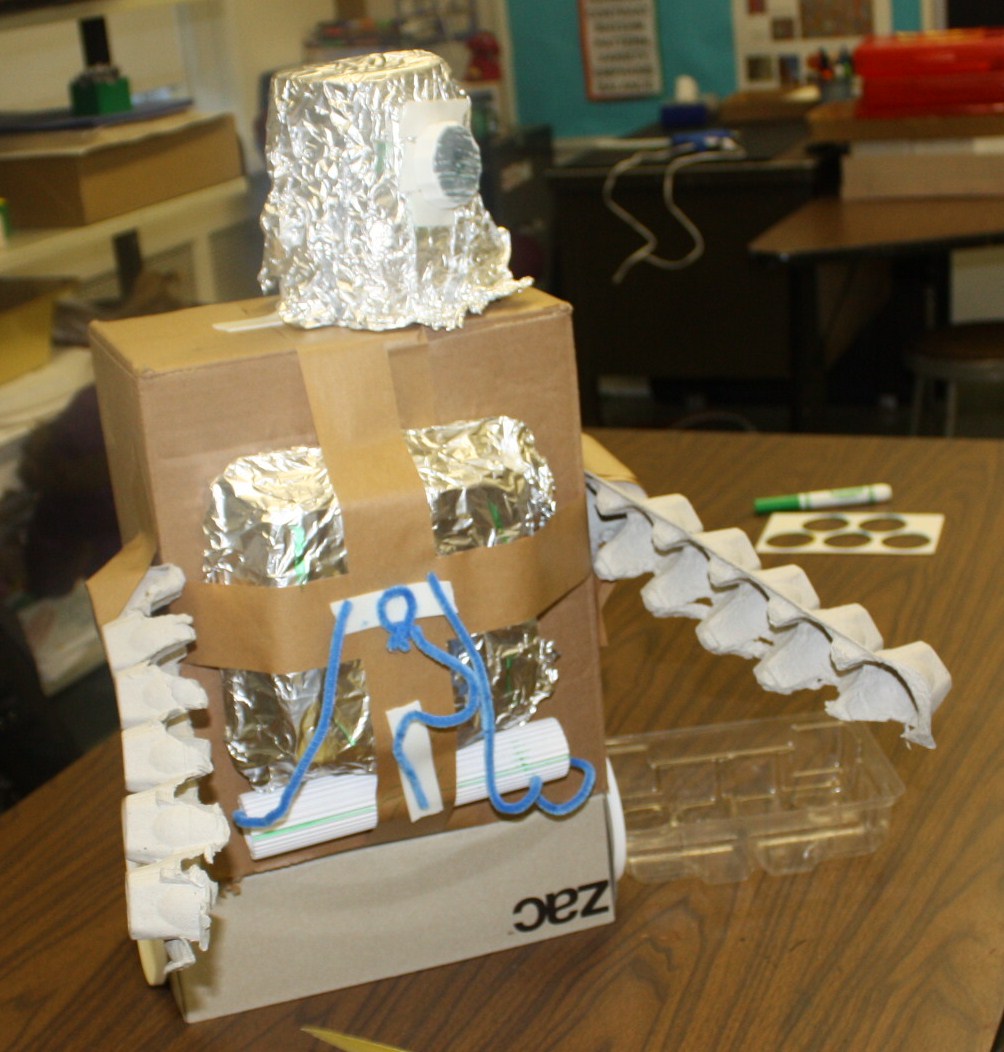
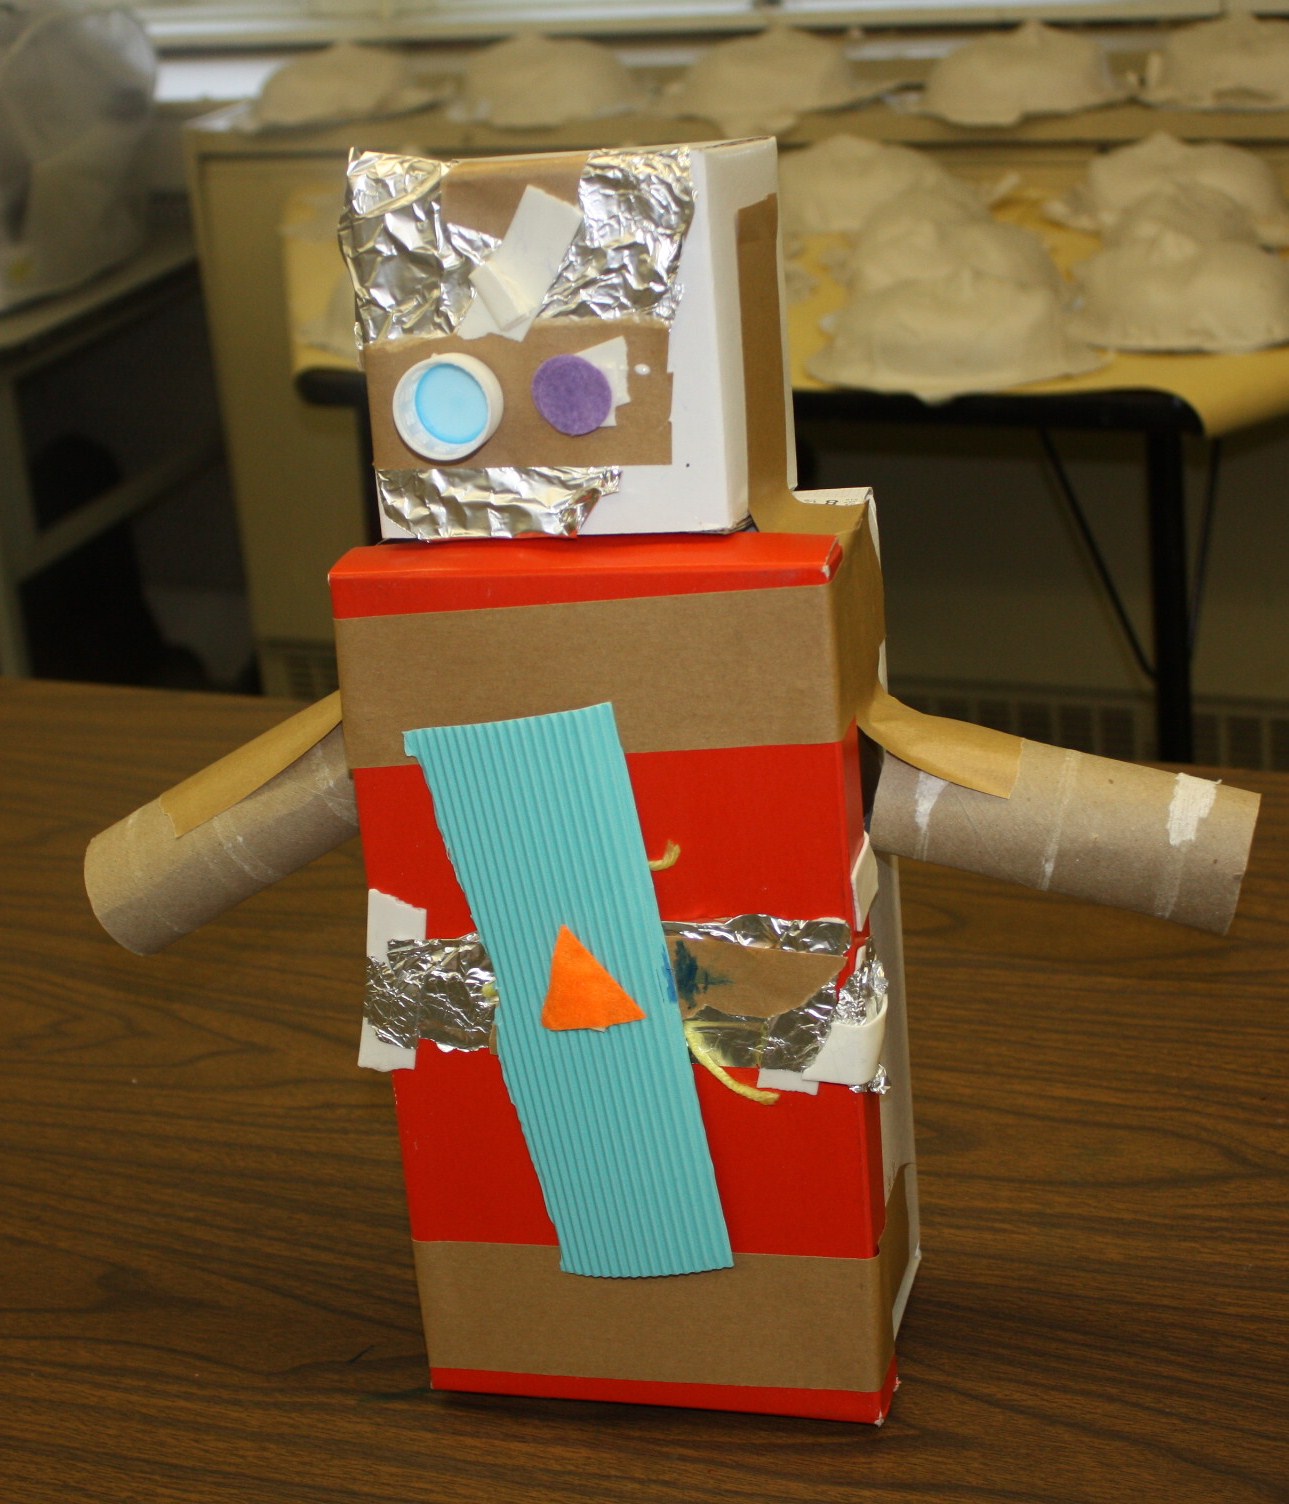
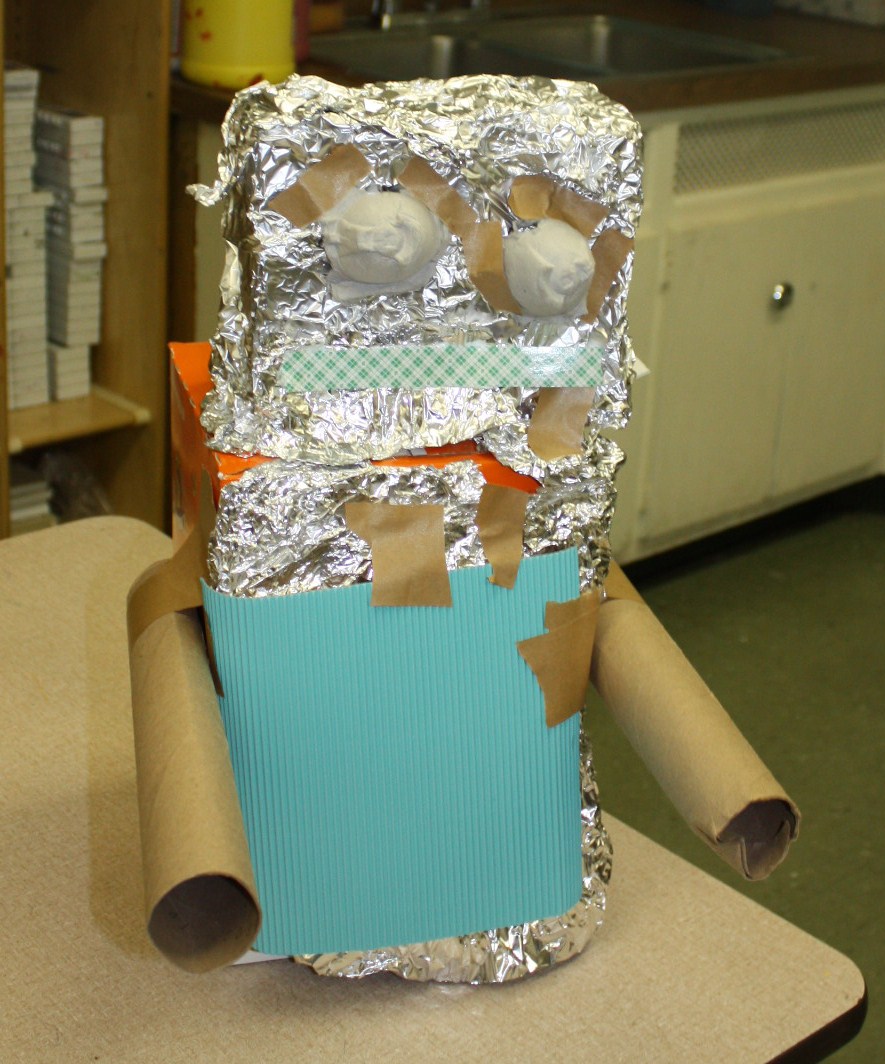
This week’s Eco-Art class was all about Robots. I think they did a fantastic job! And yes, supposedly they are programed to clean rooms, do homework and what ever else they tell them to do! Now if only they could make one for me to do all the laundry…..


